OpenStreetMap Community Mapping Project
Mapping the world is a big job, and it takes more than a few people to get it right! OpenStreetMap (OSM) is a free community mapping tool that allows anyone interested to contribute. OSM data is used by OpenTripPlanner (OTP) and thousands of unique sites and devices to power navigation tools around the world. In addition, the project aims to promote new and exciting uses of the data.
The 511NY Rideshare team uses OSM and OTP to deliver current bike routes, multi-modal trip plans, and park and ride lot maps. We contribute to OSM to improve data quality to better serve our members – and you can help too!
We are looking for passionate 511NY Rideshare members to help us improve local OSM data in your community. For example, you can use OSM to look up your local area and correct mistakes or add missing routes –- you can even specify if they are for cars, bikes or pedestrians. You can also create entrances and exits into parking lots and add walking paths through parks and neighborhoods.
Below you will find simple instructions on making quick and easy updates in OpenStreetMap based on your experiences and knowledge of your local community.
Click the links below for guidance on how to make a variety of updates in OSM:
Below you will find simple instructions on making quick and easy updates in OpenStreetMap based on your experiences and knowledge of your local community.
Click the links below for guidance on how to make a variety of updates in OSM:
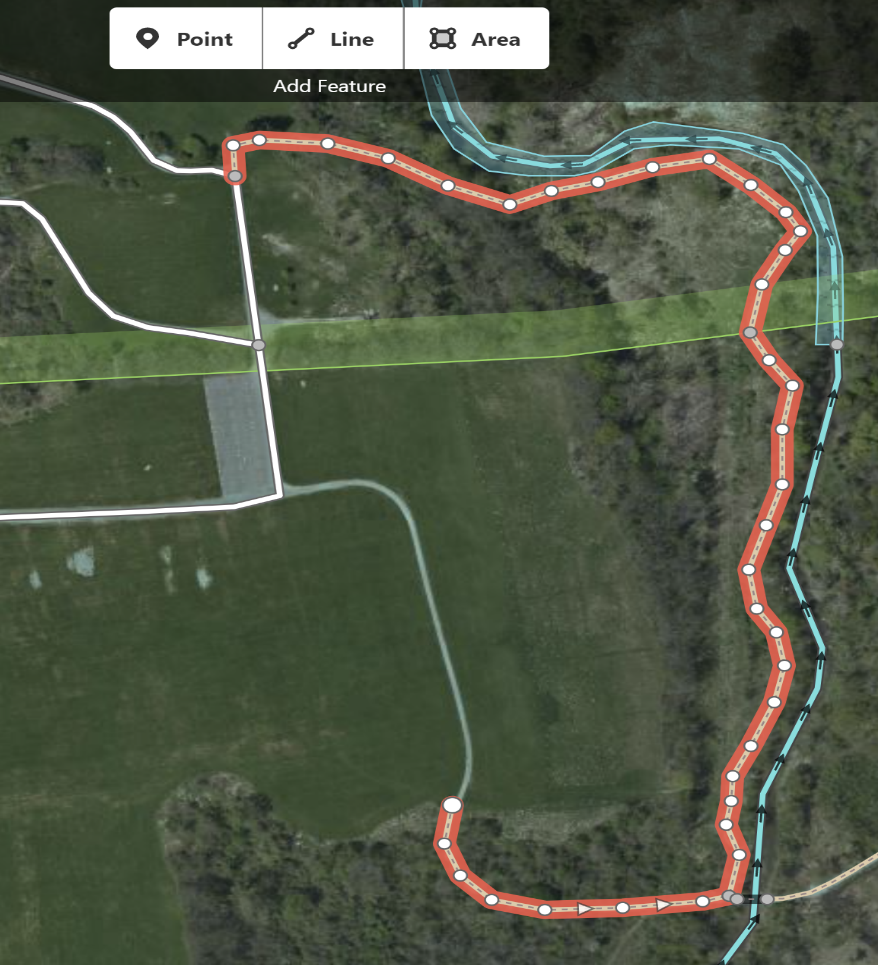
Walking/Hiking Path
- Click Edit and use the “line” feature.
- Create/Draw a line over the location you are trying to map. Click along the desired route to create multiple points and form your path.
- Once the path is completed, double click on the last point to end the mapping.
- Choose “Path” on the left-hand side of your screen and fill in the set of “Fields” data that is provided.
- Once completed, click “Save” in the top right corner, fill in a description, and click upload.
- Once completed, click “Save” in the top right corner, fill in a description, and click upload.
- Once the path is completed, double click on the last point to end the mapping.
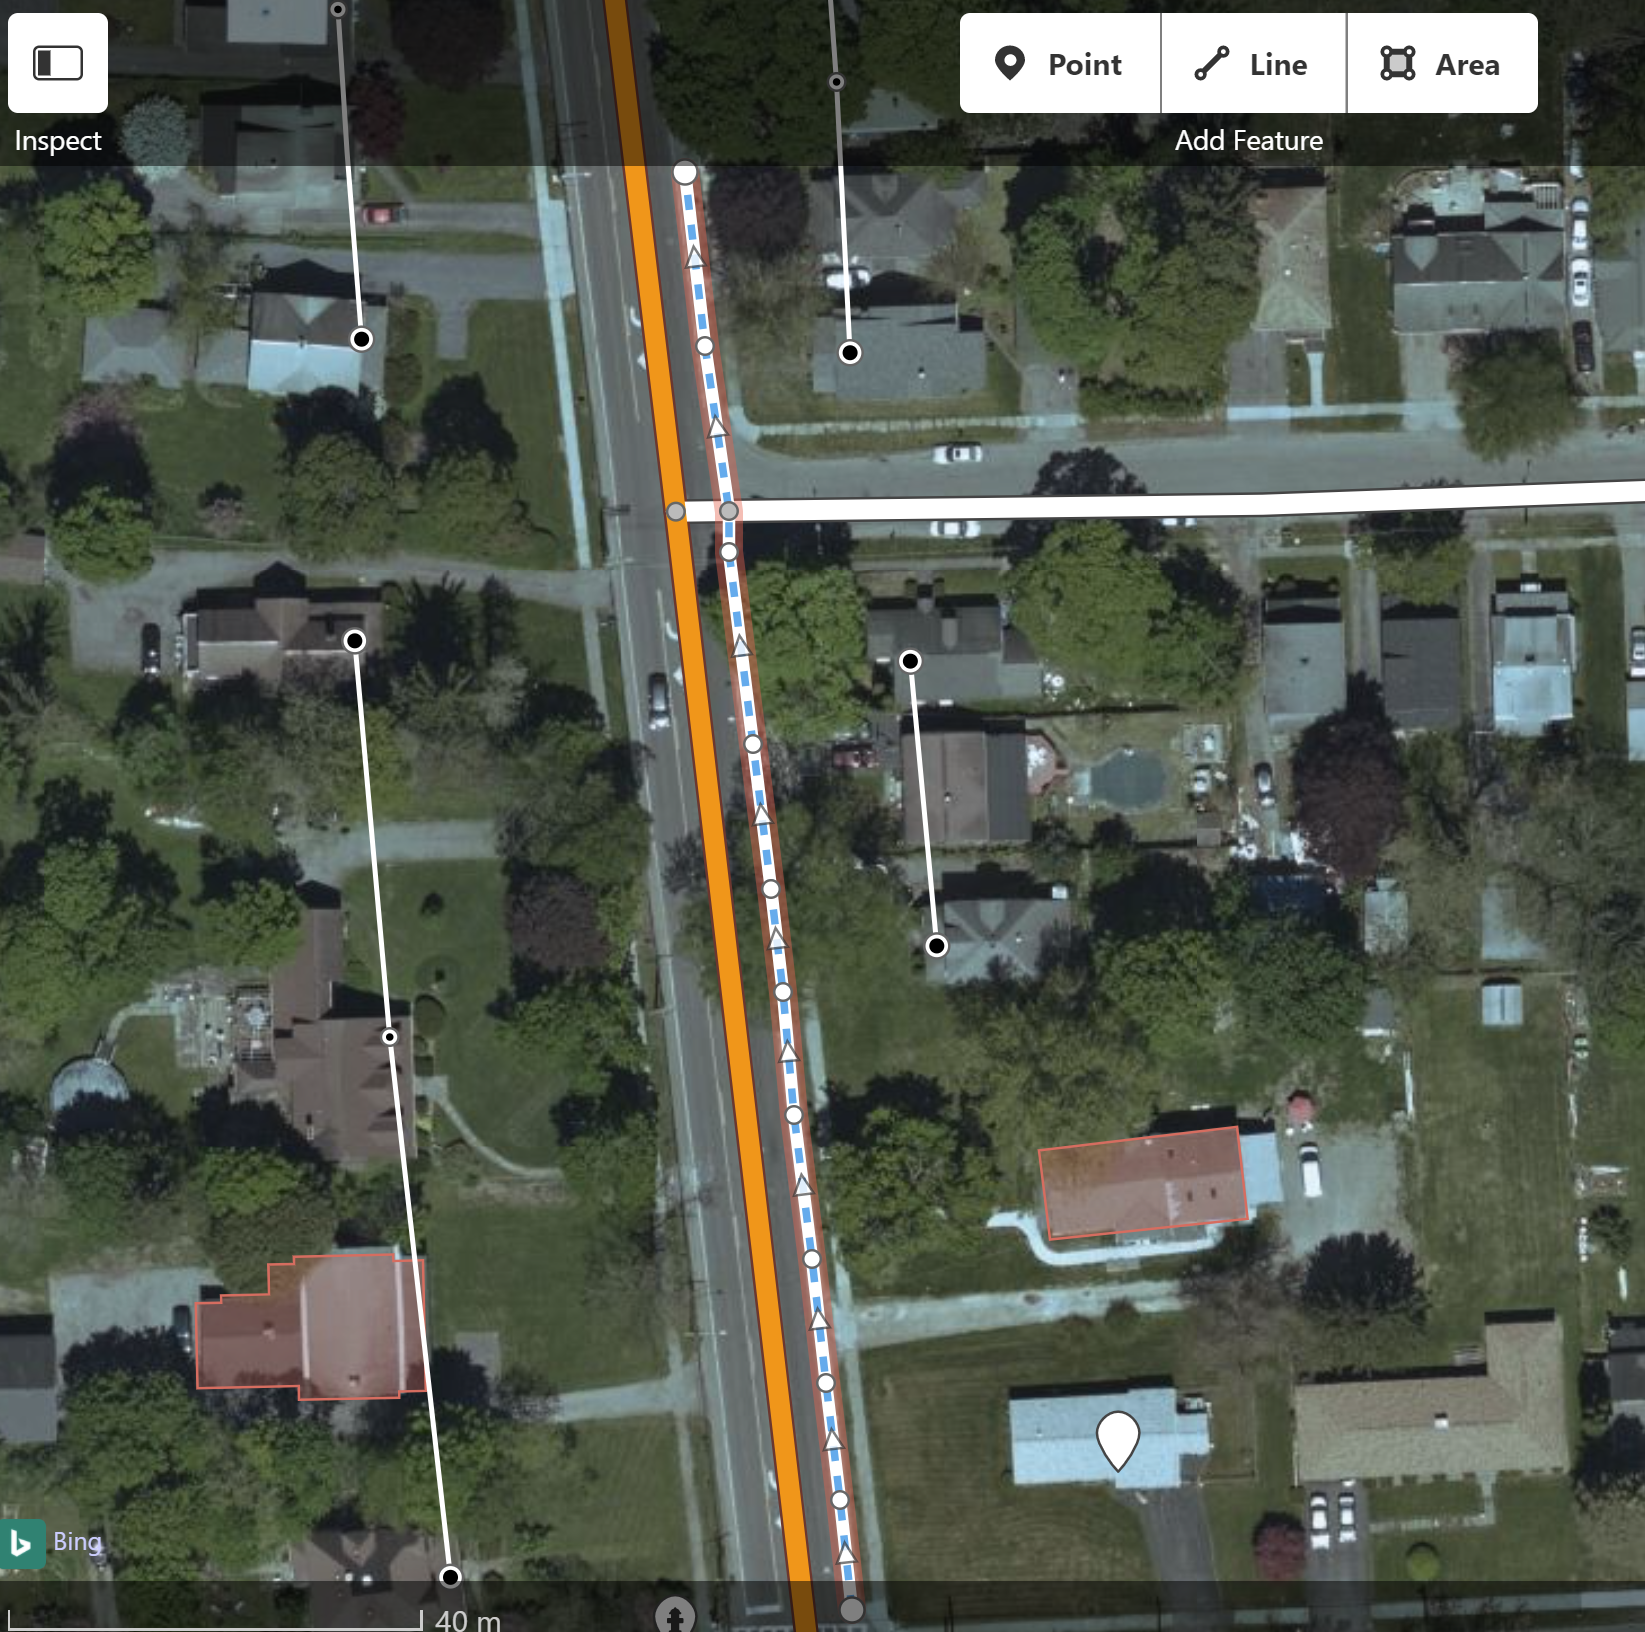
Bike Path
- Click Edit and use the “line” feature.
- Create a line over the location you are trying to map by clicking along the path route to create multiple points that will form the bike path.
- Once the path is completed, double click on the last point to end the mapping.
- Choose “Cycle Path” on the left-hand side of your screen, fill in the “Fields” data that is provided.
- Once completed, click “save” in the top right corner ‐ fill in a description ‐ click upload.
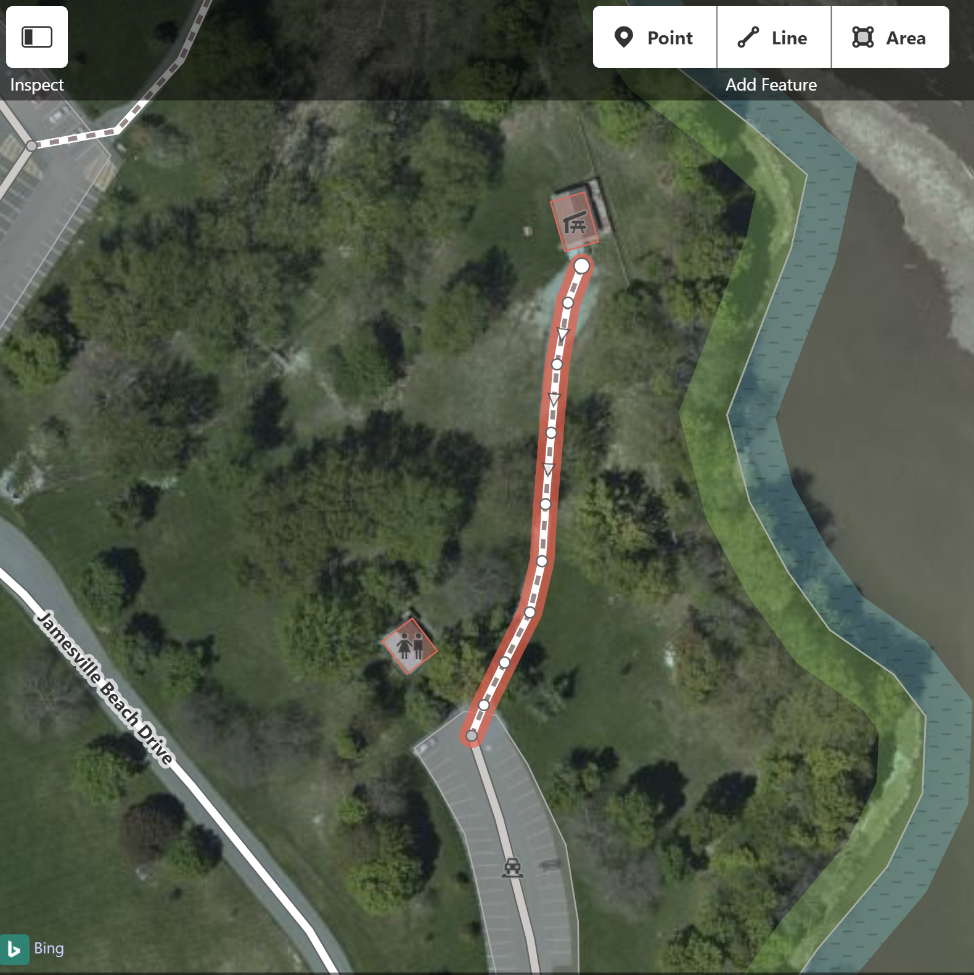
Foot Path
- Click Edit and use the “line” feature.
- Create/Draw a line over the location you are trying to map by clicking along the path route to create multiple points that will connect to form the path.
- Once the path is completed, double click on the last point to end the mapping.
- Choose “Paths” on the left-hand side of your screen and select “Foot Path” (this is a different option than “Path”). Fill in the “Fields” data that is provided.
- Once completed, click “save” in the top right corner ‐ fill in a description ‐ click upload.

Crosswalks
- If a road already exists, double-click inside the road near where the crosswalk is located, and a new point will appear. If a road does not exist, draw a line over the intended crosswalk and create a “Marked Crosswalk.”
- Click on the new point and the “Features” panel will open on the left-hand side of your screen. Choose “Marked Crosswalk.”
- After choosing “Marked Crosswalk,” fill out the remaining “Fields” for the new feature. In the “Fields” section you have the option to clarify whether the crosswalk is marked or not.
- Once completed, click “save” in the top right corner ‐ fill in a description ‐ click upload.
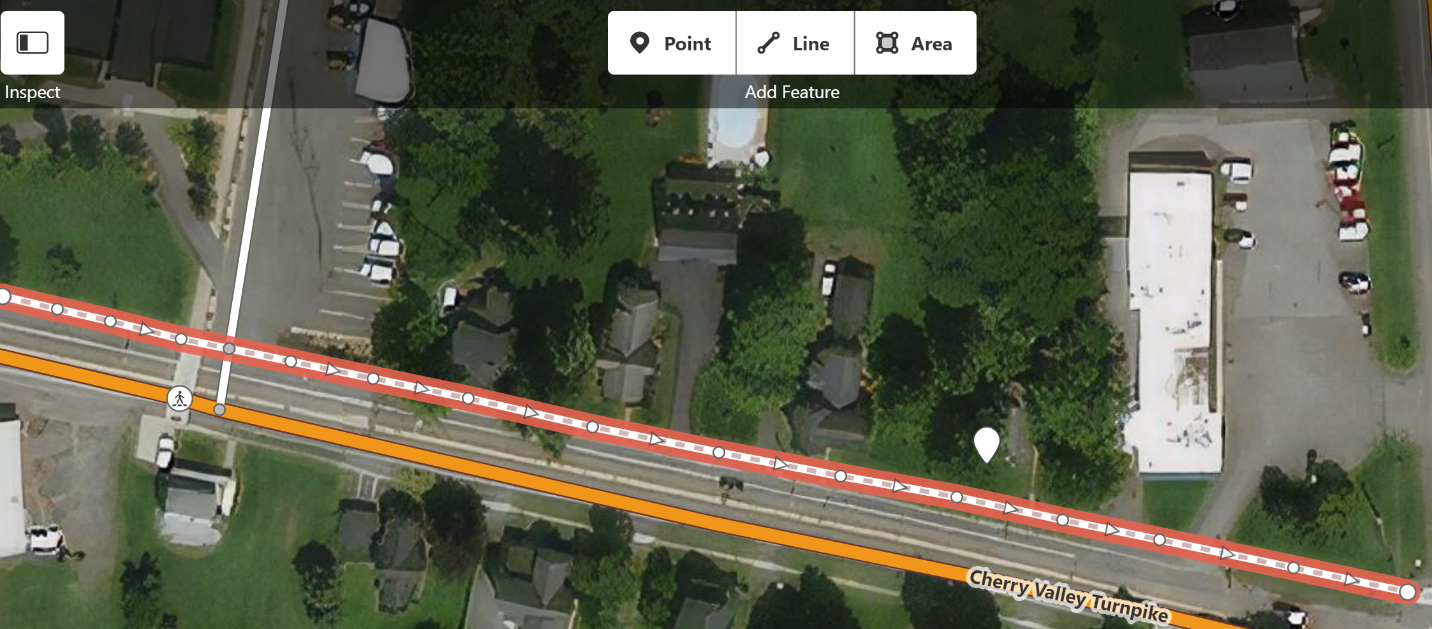
Sidewalks
- Click Edit and use the “line” feature.
- Create/Draw a line over the location you are trying to map. “Left-Click” along the sidewalk to create multiple points that will allow for the proper form to take place.
- Once the sidewalk is completed, double click on the last point to end the mapping.
- Choose “Sidewalk” on the left-hand side of your screen, fill in the following set of “Fields” data that is provided.
- Once completed, click “save” in the top right corner ‐ fill in a description ‐ click upload.
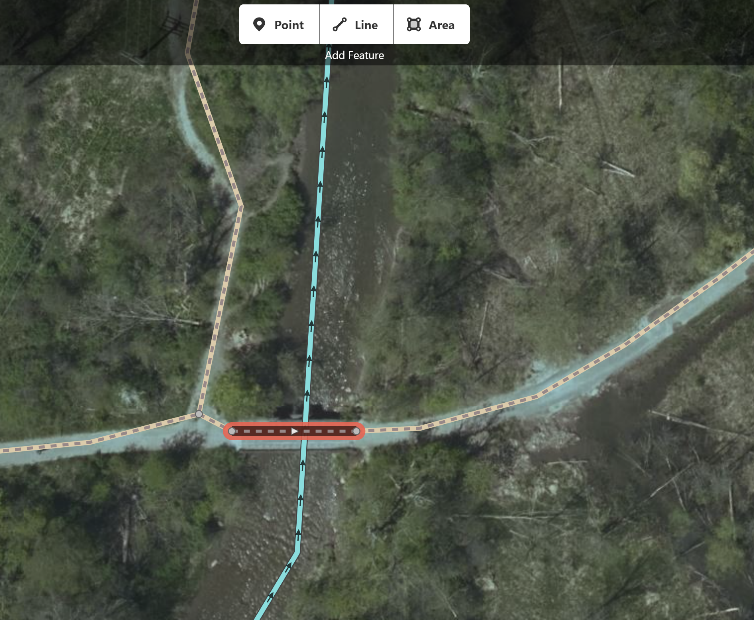
Pedestrian Bridge
- Click Edit and use the “line” feature.
- Draw a line over the location you are trying to map by clicking along the route.
- Once the desired line is drawn, double-click on the last point made to end the mapping.
- On the Left-hand side choose “Path” as the feature type.
- Choose “Path”, fill in the following set of “Fields” data and choose “Bridge” as a structure.
- Once completed, click “save” in the top right corner ‐ fill in a description ‐ click upload.
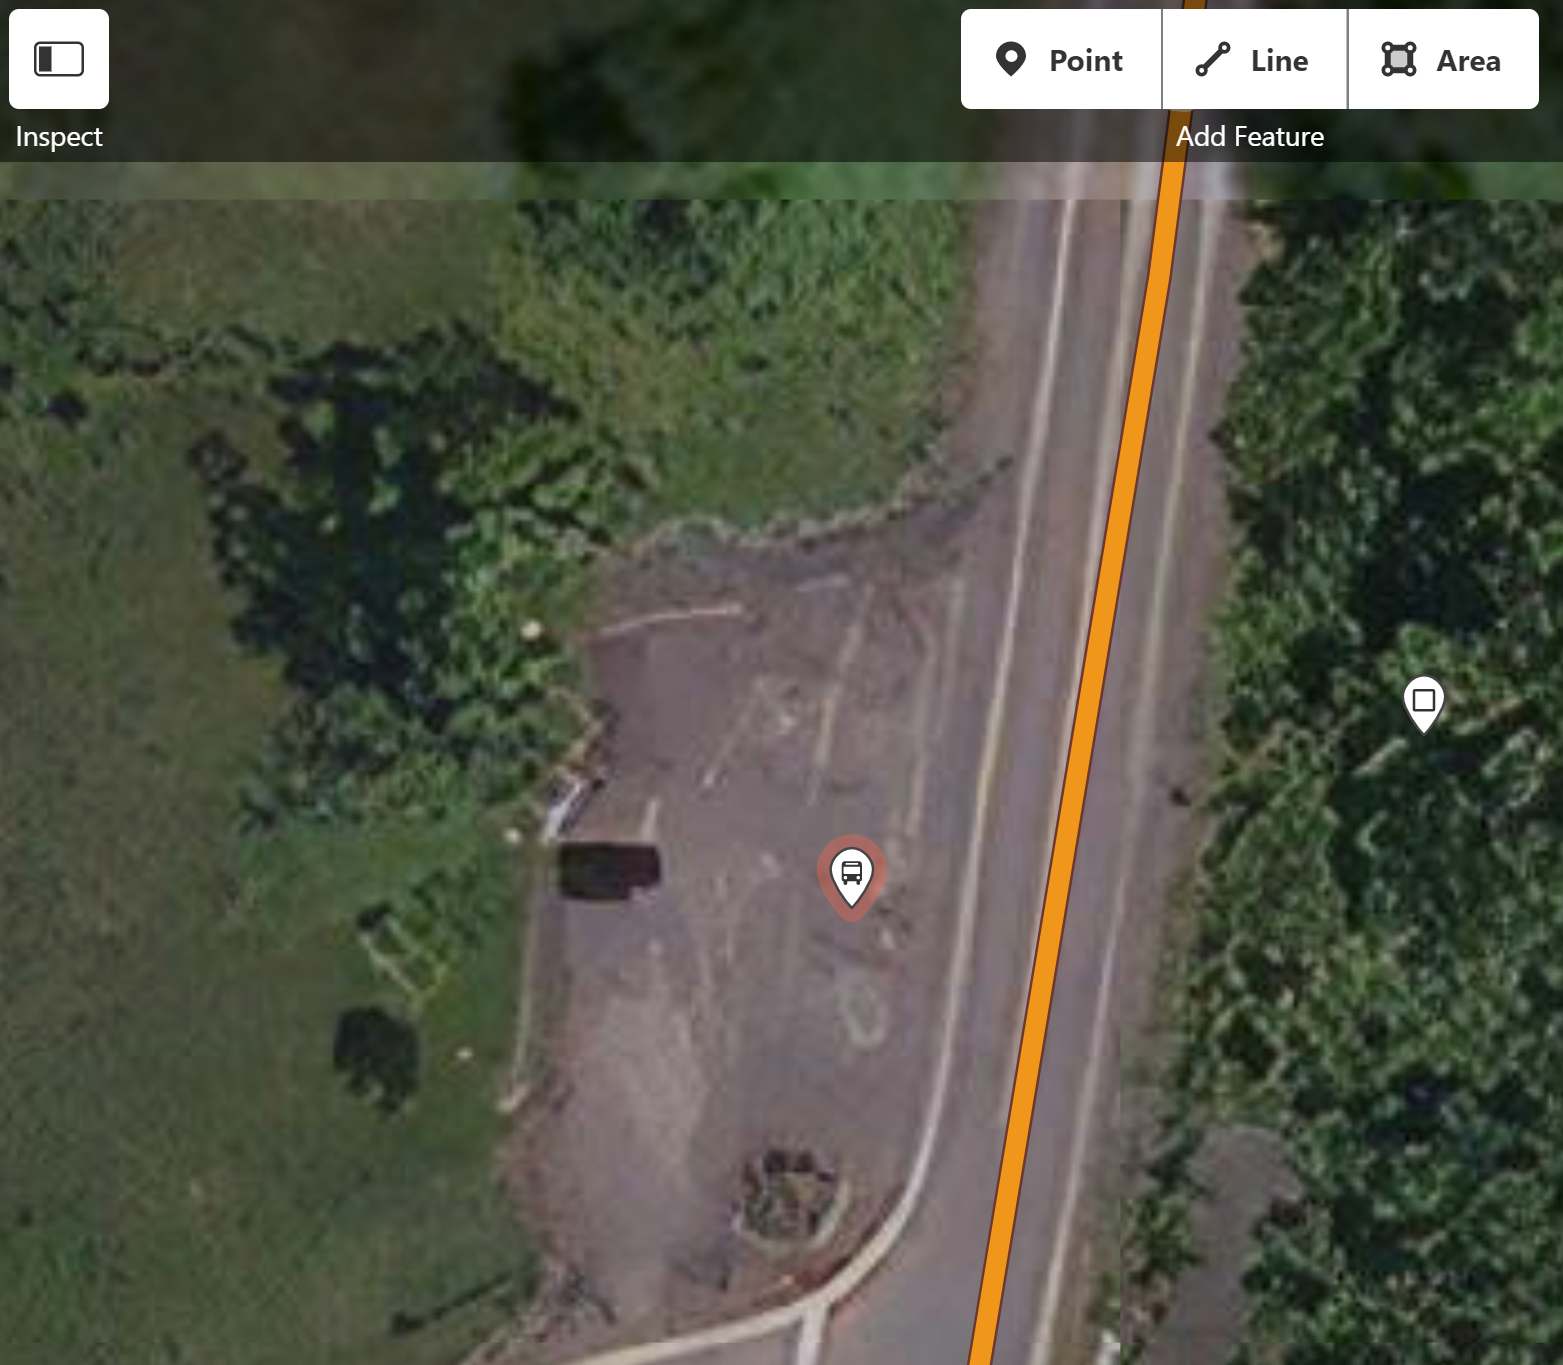
Bus Stop
- Click “Edit” and use the “Point” feature.
- Place a point where the bus stop is located.
- On the left-hand side after placing the point, if “Bus Stop” does not appear use the “Features search bar” to find it.
- After choosing the “Bus Stop” feature, fill in the field data.
- Once completed, click “save” in the top right corner ‐ fill in a description ‐ click upload.
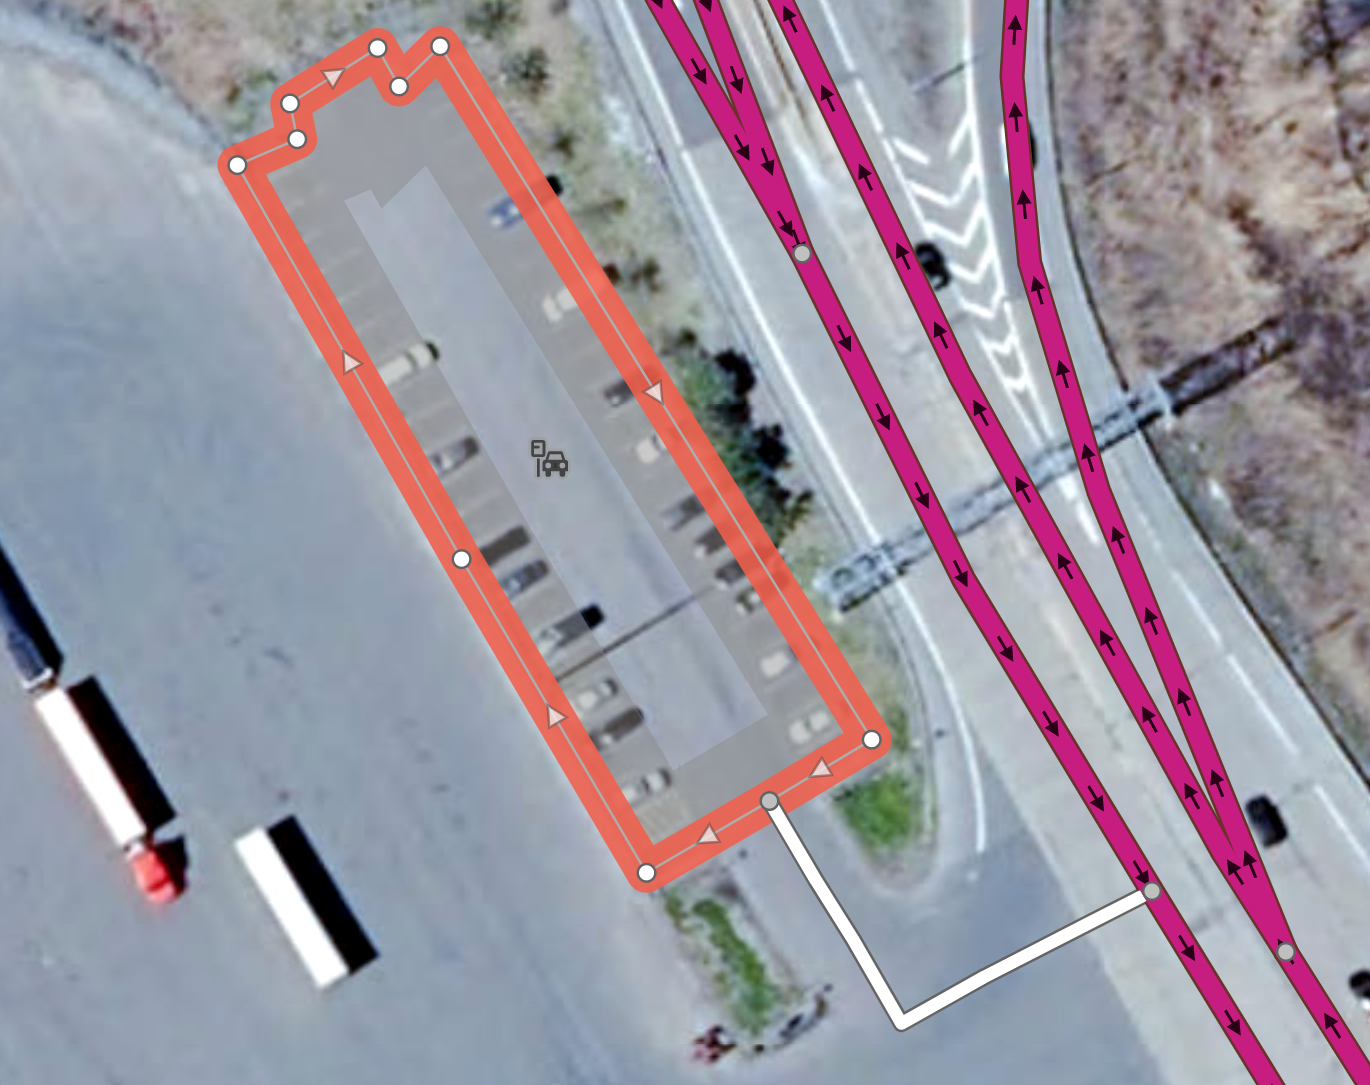
Park & Ride lot
- Click “Edit” and use the “Area” feature
- Begin outlining the Parking Lot
- Once desired area is drawn, double-click on the last point made to end the mapping.
- On the left-hand side after completing the area, use the “Features search bar” to find "Park & Ride Lot".
- After choosing the “Park & Ride Lot" feature, fill in the field data.
- Create a service road that connects the Parking lot to the main road
- Once completed, click “save” in the top right corner ‐ fill in a description ‐ click upload.

